Have you ever opened a can of evaporated milk for a recipe, only to find yourself with a significant amount left over? It's a common kitchen dilemma. Evaporated milk, once opened, has a surprisingly short shelf life in the refrigerator – typically only a few days before it starts to spoil. This often leads to unnecessary waste, and nobody likes throwing out perfectly good food (or money!). But what if there was an easy, effective way to salvage those leftovers?
The good news is, there is! You absolutely can freeze evaporated milk, making it a simple solution for reducing waste and ensuring you always have some on hand for future culinary adventures. This guide will walk you through the straightforward process, ensuring your leftover evaporated milk is saved for another day.
Why Freeze Evaporated Milk? Save Money, Reduce Waste, & Stay Prepared
The primary motivations for learning how to freeze evaporated milk are clear: convenience and economy. Imagine you're making a delicious crockpot mac and cheese, a creamy soup, or a batch of fudge, and the recipe calls for only a portion of the can. What happens to the rest? If it sits in the fridge for more than 2-3 days, it's destined for the bin.
- Prevent Food Waste: Freezing is an excellent way to extend the usability of ingredients. By preserving your leftover evaporated milk, you're actively contributing to a more sustainable kitchen.
- Save Money: Each time you rescue evaporated milk from spoilage, you're saving yourself the cost of buying a new can for your next recipe. Over time, these small savings add up!
- Always Be Prepared: Having pre-portioned, frozen evaporated milk means you're always ready to whip up a dish that calls for it, without a last-minute trip to the grocery store.
It's worth noting that major producers, like Carnation, generally recommend freezing only *leftover* evaporated milk once the can has been opened. Freezing an unopened can is not only unnecessary (unopened evaporated milk has a very long shelf life at room temperature) but can also compromise the integrity of the can itself due to liquid expansion during freezing.
What Happens When You Freeze Evaporated Milk? Understanding Texture Changes
Yes, you can confidently freeze evaporated milk, and it will maintain its quality in the freezer for at least 3 to 6 months. However, it's crucial to understand a key characteristic: frozen and then thawed evaporated milk will exhibit some separation. This is a completely normal occurrence due to the altered structure of milk proteins and fats after freezing and thawing.
When you defrost it, the milk might appear slightly lumpy, grainy, or have a somewhat watery consistency compared to its fresh, smooth state. Stirring or even blending it can help to reincorporate some of the solids, but it's unlikely to return to its original, perfectly homogeneous texture. Don't be alarmed by this!
The good news is that for most culinary applications, this minor separation is rarely an issue. In dishes where the milk is heated and combined with other ingredients – think soups, casseroles, or baked goods – the changes in texture become virtually unnoticeable. Understanding this characteristic upfront will help you decide the best uses for your thawed evaporated milk, ensuring a successful outcome every time.
How to Freeze Evaporated Milk: A Simple Step-by-Step Guide
The process of freezing evaporated milk is incredibly simple and takes just a few minutes. The key is to consider how you plan to use it later, which will help you choose the best freezing method and portion sizes.
Method 1: Using Freezer Bags (Ideal for larger portions)
- Measure and Portion: Decide how much evaporated milk you typically need for a recipe. If you commonly use 4 ounces, for example, portion accordingly. This makes future meal prep much easier.
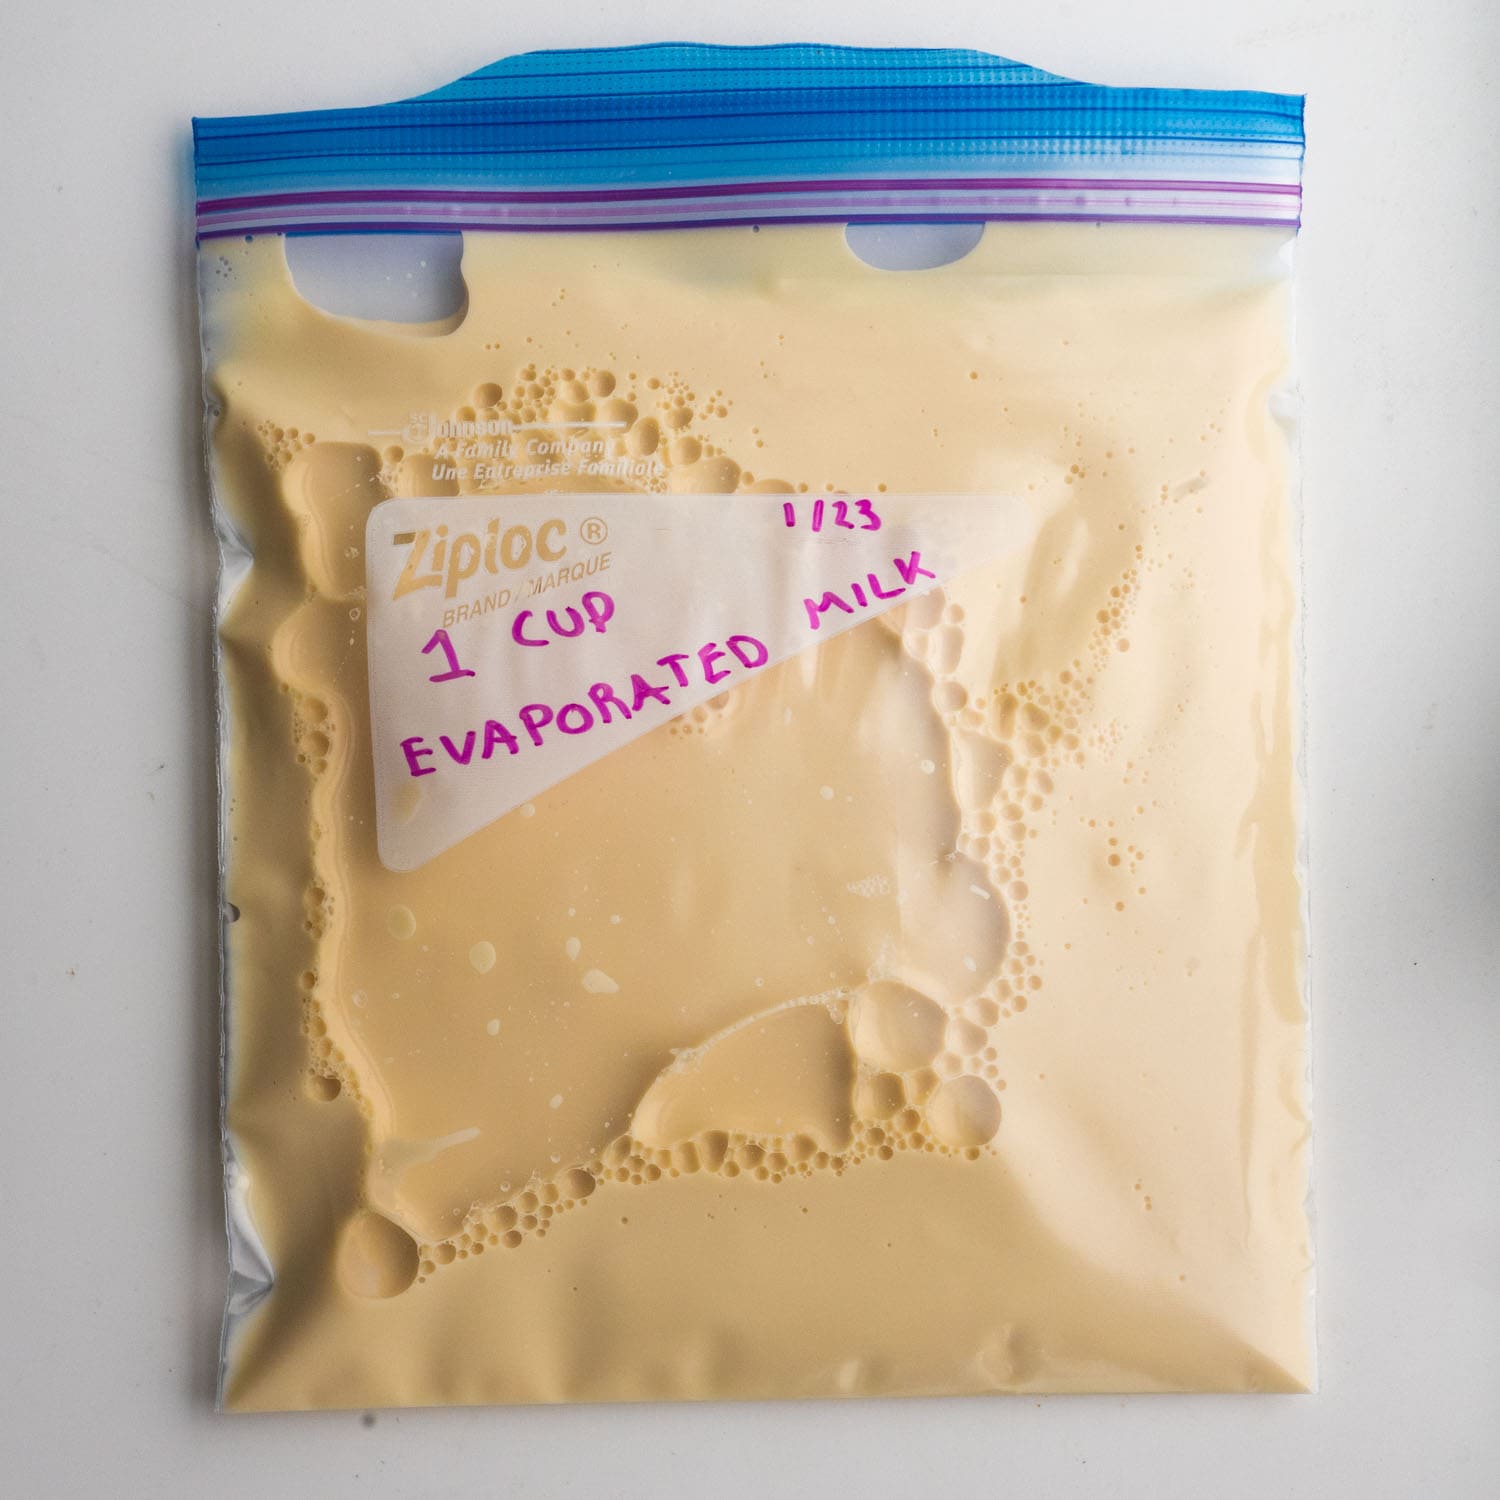
- Pour into Freezer Bag: Carefully pour the measured evaporated milk into a high-quality, freezer-safe bag.
- Remove Air: Gently press out as much air as possible from the bag before sealing it tightly. Laying the bag flat helps achieve an even freeze and saves freezer space.
- Label and Date: This step is critical! Using a permanent marker, clearly label the bag with the contents ("Evaporated Milk"), the measured amount (e.g., "4 oz" or "1/2 cup"), and the date it was frozen. This prevents guesswork later on.
- Freeze: Place the labeled bag flat in your freezer until solid. Once frozen, you can store it upright or stacked to save space.
Method 2: Using Ice Cube Trays (Perfect for smaller, flexible amounts)
For recipes that call for smaller increments or if you're unsure of your future needs, ice cube trays are a fantastic option.
- Fill Trays: Pour the leftover evaporated milk into clean ice cube trays. You can measure how much each cube holds (e.g., 1 fluid ounce) for precise future use.
- Freeze Solid: Place the trays in the freezer and allow the milk to freeze completely, usually overnight.
- Transfer to Bag: Once the cubes are solid, pop them out of the trays and transfer them to a larger, freezer-safe bag.
- Label and Date: As with freezer bags, label the larger bag with "Evaporated Milk Cubes," the amount per cube (e.g., "1 cube = 1 oz"), and the date frozen. This method provides maximum flexibility.
- Store: Keep the bag of frozen cubes in your freezer, ready for whenever you need a small dash of creamy goodness.
Pro Tip: If using rigid containers instead of bags, remember to leave about half an inch of headspace at the top. Liquids expand when they freeze, and this prevents containers from cracking.
Thawing and Using Your Frozen Evaporated Milk
Once you're ready to use your frozen evaporated milk, thawing it is just as simple as freezing it. Remember the separation we discussed? That's where knowing its best applications comes in handy!
How to Thaw Evaporated Milk:
- Refrigerator Thawing: The safest and most recommended method is to transfer the frozen evaporated milk to your refrigerator and let it thaw overnight. This slow thawing helps minimize further texture changes.
- Cold Water Bath: For quicker thawing, place the sealed freezer bag or container in a bowl of cold water. Change the water every 30 minutes until thawed. Do not use hot water, as this can encourage bacterial growth.
- Microwave Thawing: If you're in a hurry, you can defrost it in the microwave using a low power setting. Be sure to stir frequently to ensure even thawing and prevent localized heating.
Best Uses for Thawed Evaporated Milk:
Once thawed, give the milk a good stir or whisk. While it won't regain its perfectly smooth, fresh consistency, it's still incredibly useful for a wide array of dishes. Its slight separation won't be noticeable when cooked or blended into other ingredients.
- Creamy Soups and Stews: Thawed evaporated milk is excellent for adding richness and body to bisques, chowders, cream of mushroom soup, or any hearty stew. The cooking process will re-emulsify it beautifully.
- Casseroles: From savory chicken and rice bakes to classic tuna casseroles, it blends seamlessly into the creamy sauces.
- Baked Goods: Many baking recipes, particularly those for cakes, custards, puddings, or quick breads, work perfectly with thawed evaporated milk. Its slightly thicker consistency (even post-thaw) still contributes to moisture and richness.
- Sauces: Use it to create creamy pasta sauces, gravies, or cheese sauces. The heat and stirring involved will integrate it well.
- Hot Beverages: A splash in your coffee or hot cocoa can still provide that lovely creamy touch, even if you notice a minimal difference in texture.
It might not be ideal for applications where a perfectly smooth, unseparated liquid is critical, such as certain delicate frostings or very specific dessert emulsions. However, for the vast majority of cooked and baked dishes, it performs wonderfully. For more ideas on how to make the most of thawed evaporated milk despite its changes, check out our guide on Thawed Evaporated Milk: Using It Effectively Despite Separation.
Practical Tips for Success
- Consistency is Key: Aim to use your frozen evaporated milk within 3-4 months for optimal quality. While it will remain safe beyond that, its texture and flavor might degrade slightly.
- Accurate Labeling: Over time, it's easy to forget what's in your freezer. Clear, detailed labels are your best friend.
- Pre-Plan Portions: If you know a specific recipe often leaves you with a certain amount, freeze it in those exact portions. This is a game-changer for efficiency.
To dive deeper into smart ways to prevent food waste and creatively utilize ingredients, including more specific freezing insights, explore Don't Waste Evaporated Milk: Freezing Tips & Best Uses.
Conclusion
Freezing evaporated milk is a simple, effective, and environmentally friendly way to manage leftovers. By following these easy steps, you can confidently prevent food waste, save money, and ensure you always have this versatile ingredient ready for your next culinary creation. Don't let those valuable leftovers go to waste again! Embrace the freezer as your ally and enjoy the convenience of preserved evaporated milk in your kitchen.
